
I’ve been working in the fitness industry since I left school—from group exercise instructor to personal trainer and now fitness educator—and I’ve seen the same issues arise as people get older. Muscle loss, weakening core, and balance issues become increasingly common, especially for those who spend most of their day sitting. The good news? Fighting back is simpler than you think, and you don’t need a gym membership to get started. All you need is a sturdy chair and 10 minutes, three times a week. Here’s how to build real, functional strength that makes everyday movements easier and keeps you independent for years to come.
The Strength Challenges You’re Facing After 50

We lose muscle mass at a rate of about 1% per year after 50 if we’re not actively working against it. That might not sound like much, but over a decade, that’s 10% of your muscle gone. Even more concerning is that we lose power (the ability to generate force quickly) at roughly twice that rate. This is why getting up from a low chair becomes harder or why catching yourself when you trip gets more difficult.
The legs and hips take the biggest hit. The glutes and quads weaken first, which explains why stairs become challenging and why balance starts to falter. Core strength diminishes too—not visible abs, but the deep stabilizing muscles that keep your spine supported. Upper body strength drops off as well, particularly in the shoulders and back.
The real problem is that these changes happen so gradually that most people adapt without realizing it. You start avoiding certain movements, holding onto railings more, asking for help with things you used to do easily. By the time you notice the decline, you’ve already lost significant strength.
Why Chair Workouts Are Your Smart Choice for Building Strength

Chair exercises remove the intimidation factor that keeps many people from starting strength training. There’s no need to get down on the floor (which can be a real barrier for anyone with knee or hip problems) and no need to worry about balance issues that might cause a fall.
The chair provides constant stability, which lets you focus entirely on working your muscles rather than worrying about toppling over. These exercises are also incredibly space-efficient—a sturdy dining chair in your living room is enough to build real, functional strength.
Perhaps most importantly, chair exercises train movements you actually use in daily life. Getting up from a seated position, reaching overhead, rotating your torso—these are the exact movements that become difficult as we age. By training them regularly, you’re directly addressing the functional challenges that matter most.
10-Minute Chair Workout to Build Strength After 50
Chair Squats

This works your quads, glutes, hamstrings, and core. It’s the single most important exercise for maintaining independence as you age because it directly trains the movement you need for getting up from any seated position.
How to do it:
- Sit in the chair with your feet flat on the floor, hip-width apart
- Your knees should be roughly over your ankles
- Place your hands on your thighs or cross them over your chest
- Lean forward slightly from your hips (don’t round your back)
- Push through your heels to stand up
- Control your descent back down to the chair—don’t just drop
Mistakes to avoid: The biggest mistake is letting your knees cave inward as you stand. Your knees should track in line with your toes throughout the movement. Another common error is rounding the back instead of hinging from the hips. Keep your chest lifted and your spine neutral. Many people also sit down too quickly, missing out on the eccentric (lowering) phase, which is actually where a lot of the strength-building happens.
Seated Leg Extensions

This isolates your quadriceps (front thigh muscles) which are crucial for stair climbing and standing from seated positions.
How to do it:
- Sit tall in the chair with your back against the backrest
- Your feet should be flat on the floor
- Straighten one leg out in front of you, lifting your foot until your leg is parallel to the floor (or as close as you can get)
- Hold for a second, then lower back down with control
- Keep your thigh on the chair throughout—don’t let your knee lift up
Mistakes to avoid: The main mistake is using momentum to swing the leg up. This should be a controlled movement with your quad doing all the work. Another error is leaning back or slouching—your core should stay engaged and your posture upright throughout. Some people also lock their knee aggressively at the top, which puts unnecessary stress on the joint. Stop just before full lockout.
Seated Marches

This works your hip flexors, quads, and core while also improving hip mobility and balance.
How to do it:
- Sit towards the front of the chair with your feet flat on the floor
- Keep your back straight and core engaged
- Lift one knee up towards your chest as high as you comfortably can
- Lower it back down with control
- Alternate legs in a marching motion
Mistakes to avoid: The biggest mistake is rounding your back and collapsing forward as you lift your knee. Your torso should stay upright throughout. Another common error is rushing through the movement—this should be controlled, not frantic. Some people also hold their breath, which spikes blood pressure unnecessarily. Breathe naturally throughout the exercise.
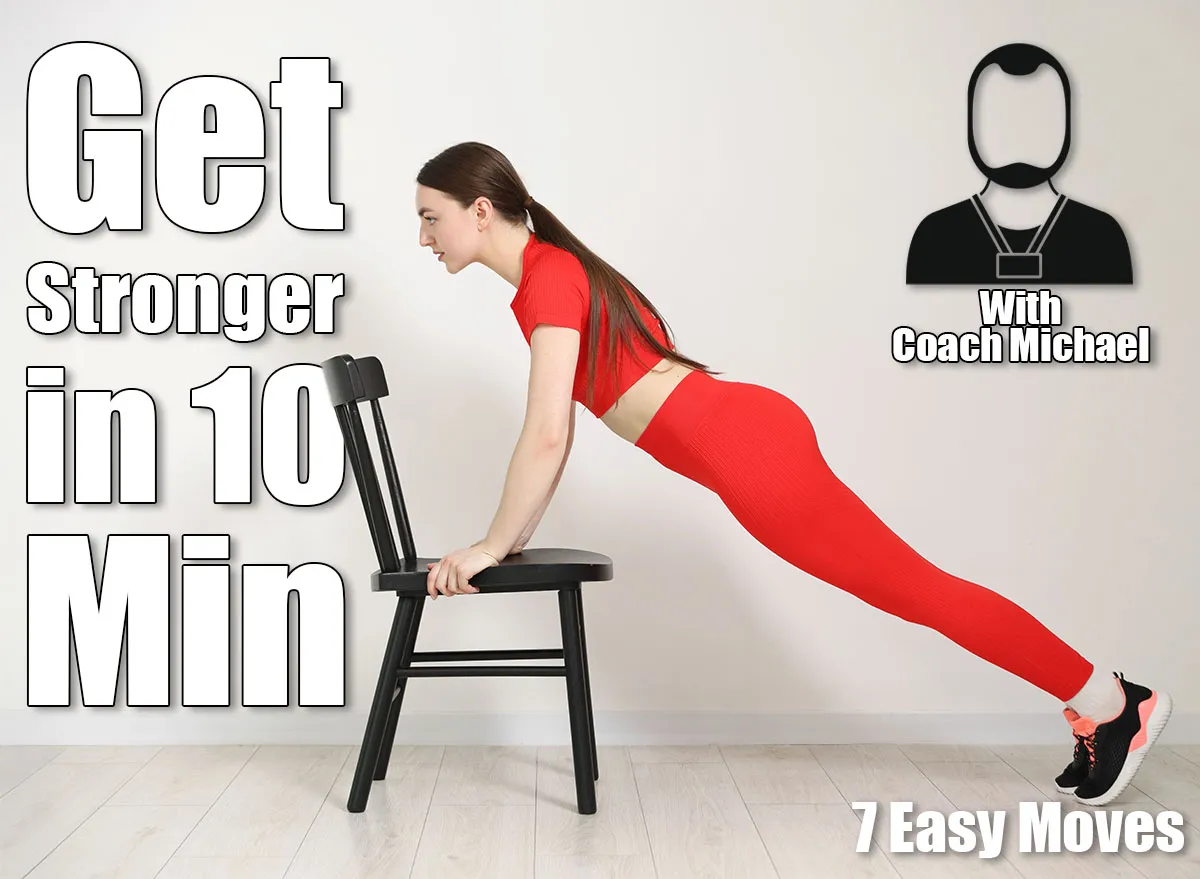
Chair Push-Ups

This works your chest, shoulders, and triceps. It’s an excellent way to build upper body pushing strength without needing to get on the floor.
How to do it:
- Stand facing the chair and place your hands on the seat, slightly wider than shoulder-width
- Walk your feet back until your body forms a straight line from head to heels
- Keep your core tight so your hips don’t sag
- Bend your elbows to lower your chest towards the chair
- Push back up to the starting position
Mistakes to avoid: The main mistake is letting your hips sag or your bottom stick up in the air. Your body should move as one straight line. Another error is flaring your elbows out to the sides—they should move at roughly a 45-degree angle from your body. Many people also don’t go low enough. Your chest should nearly touch the chair seat if your shoulders allow it.
Seated Rows

This targets your upper back, rear shoulders, and biceps. It’s essential for improving posture and counteracting the forward slouch that develops from too much sitting.
How to do it:
- Sit tall in the chair with your feet flat on the floor
- Extend both arms straight out in front of you at shoulder height, making fists as if you’re holding handles
- Pull your elbows back behind you, squeezing your shoulder blades together
- Your fists should end up beside your ribs
- Return to the starting position with control
Mistakes to avoid: The biggest mistake is hunching your shoulders up towards your ears as you pull back. Keep your shoulders down and focus on squeezing your shoulder blades together. Another error is leaning back as you pull—your torso should stay upright throughout. Some people also let their elbows flare out wide instead of keeping them close to their body.
Seated Oblique Twists

This works your obliques (side abdominals) and the deep core muscles that stabilize your spine during rotational movements.
How to do it:
- Sit tall in the chair with your feet flat on the floor
- Place your hands behind your head or across your chest
- Keeping your hips facing forward, rotate your upper body to the right as far as you comfortably can
- Pause briefly, then rotate to the left
- Your head should follow your shoulders—don’t just turn your neck
Mistakes to avoid: The main mistake is using momentum to swing back and forth quickly. This should be a controlled rotation, not a violent twist. Another error is letting your hips rotate with your upper body—they should stay planted facing forward. Some people also hold their breath during the rotation. Breathe naturally and focus on moving from your waist, not your shoulders.
Seated Calf Raises

This strengthens your calves, which are crucial for walking, balance, and preventing ankle injuries.
How to do it:
- Sit towards the front of the chair with your feet flat on the floor, hip-width apart
- Keep your back straight and core engaged
- Push through the balls of your feet to lift your heels as high as you can
- Pause at the top
- Lower back down with control until your heels touch the floor
Mistakes to avoid: The biggest mistake is bouncing up and down using momentum rather than controlled muscle contraction. Each rep should be deliberate. Another error is not going through a full range of motion—really push up high onto your toes, then lower all the way down. Some people also lean forward or back during the movement. Your torso should stay still with only your ankles moving.
How to Arrange These Exercises Into Your 10-Minute Routine

We structure the routine to alternate between lower body, upper body, and core exercises. This gives each muscle group a brief rest while you’re working another area, which means you can move through the workout efficiently without long rest breaks.
The Circuit:
- Chair squats: 10-12 reps
- Seated rows: 12-15 reps
- Seated marches: 30 seconds, alternating legs continuously
- Chair push-ups: 8-10 reps
- Seated leg extensions: 10 reps per leg
- Seated oblique twists: 10 reps per side
- Seated calf raises: 15-20 reps
That’s one round. Rest for 60 seconds, then repeat the entire circuit. Two complete rounds should take roughly 10 minutes depending on how quickly you move between exercises.
For frequency, aim for three times per week with at least one rest day between sessions. Monday, Wednesday, Friday works well for most people. Your muscles need recovery time to repair and strengthen, so training consecutive days isn’t beneficial.
If you’re completely new to exercise, start with just one round and build up to two rounds over the first few weeks. If you’re already fairly active, you might progress to three rounds after a month or so, though that will push the workout beyond 10 minutes.
The key is consistency. Three quality sessions per week, maintained over months, will deliver far better results than sporadic intense workouts. We see this constantly with our clients—the ones who show up reliably make steady progress, while those who work out randomly make little headway.
The Results You Can Realistically Expect

After four weeks of consistent training (three sessions per week), most people notice functional improvements before they see dramatic physical changes. Getting up from chairs becomes noticeably easier. Stairs don’t leave you as breathless. The exercises themselves will feel easier too—what felt challenging in week one should feel more manageable by week four.
After eight weeks, the physical changes become more obvious. Your legs will feel noticeably stronger. Tasks that required conscious effort (like standing from a low chair or climbing stairs) start to feel automatic again. Your balance improves as the supporting muscles in your hips and ankles get stronger.
The real benefit shows up in everyday moments—when you realize you can carry all the shopping bags in one trip, when you get up from a restaurant chair without using your hands, when you can play on the floor with grandchildren without dreading the getting-up part. These small victories add up to a genuinely better daily experience.
By eight weeks, you’ve also established a habit. The workout has become part of your routine rather than something you have to force yourself to do. This behavioral change might be the most valuable result of all, because it means you’re likely to keep going.
Looking for more easy ways to lose fat? Here’s How Long Your Walking Workout Should Be To Shrink Belly Fat.


Leave a Reply