
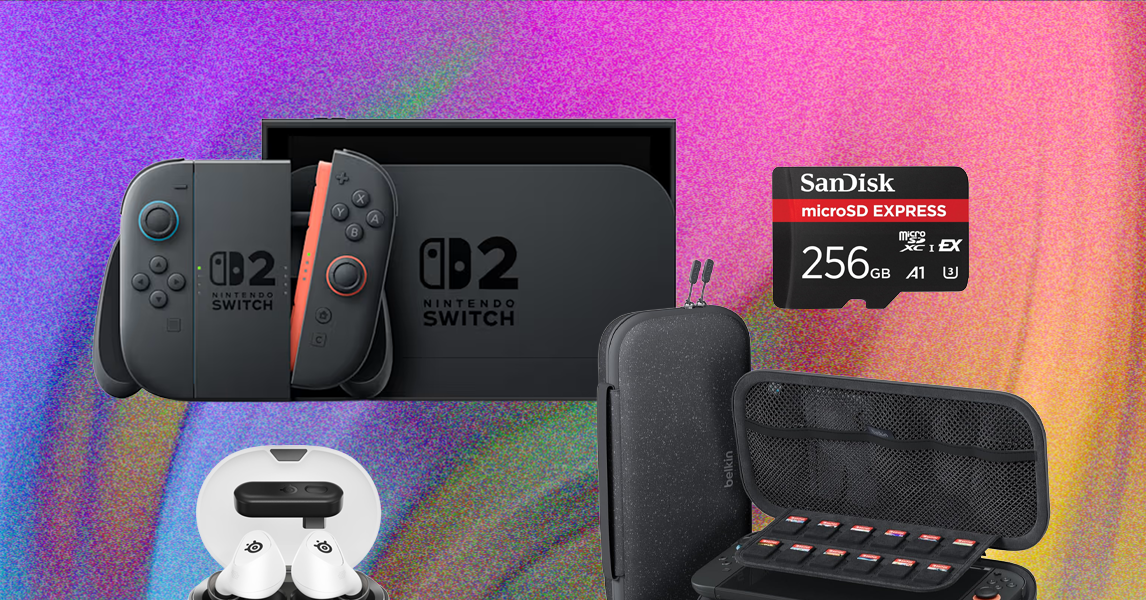
If your Switch 2 will spend most of its life in the dock or in your hands on the couch, I’d recommend an attachable grip case. Like your phone case, these clamp onto the console and Joy-Cons, providing a minor shield for bumps and bruises. They often add extra features like ergonomic grips, while still allowing access to commonly used ports.
On the other hand, if you’re a world traveler planning to take your Switch 2 on every flight, train ride, or road trip, I’d opt for a classic carrying case. These hold your console and games and usually have extra room for cables or adapters. You can toss these into your bag while packing up for a trip and know your console will make it safely to your destination.
Because the Joy-Cons are still flat on the back, many manufacturers have gone ahead and built these into cases right from the jump. This is, to me, one of the main draws of adding a case to your Switch 2, especially if you plan on playing primarily in handheld mode.
Unfortunately, you need a screen protector for your Switch 2, thanks to the built-in plastic cover that will likely scratch and scuff over time. In general, I’d recommend buying one from the same brand that you get your case or grip from, if they sell one. You’ll avoid any issues with sizing or compatibility, and almost every accessory maker on this list offers some kind of discount if you buy them as a bundle, not to mention saving on shipping.
There are still a few factors to take into consideration. Some dedicated manufacturers offer different finishes for specific situations, and applicators are also becoming more common, which help make sure everything is smooth and lined up correctly.
One of the major upgrades Nintendo made for the Switch 2 is a new kickstand. It runs the width of the console, with two firm hinges, and it’s a massive improvement for playing on the go. Unfortunately, none of the case makers could figure out what to do with it, which is understandable. There’s no clear attachment point, so most cases included double-sided tape and a kickstand-shaped chunk of plastic you could just stick to the back.
I’d be more worried about lining it up wrong or potentially breaking the kickstand if you tried to remove it for some reason than I would about a slight gap on the back of the case. Because I had to swap through a bunch of cases, I generally skipped this step, and in almost all cases, the extra piece is only cosmetic. Instead, I briefly tested the included strips of adhesive on a single spot on the back of my Switch, just to make sure they didn’t leave any obvious residue.


Leave a Reply